Last week, I completed one of my yearly goals. I created, and starting selling my first physical product. It took almost seven months to turn an idea that I had in my head into a physical product that I am proud of.
Before I get into how I created my first product, I wanted to mention that I am in NO WAY a professional designer or tech guru. In fact, most of the art that I create is done with Prismacolor colored pencils and a sketch pad. This is my story, from beginning to end, on how I created my first physical product, and the tools that I used to turn it into reality.
IT ALL STARTS WITH AN IDEA
About seven months ago, I was sitting on the couch watching “The Lucky One,” and I was trying to enter a reminder into the Google calendar app on my phone. It was a reminder that had to with my budget for the month, and I was trying to find a way to incorporate it into my daily calendar and add it to my budget at the same time. Unfortunately, I just couldn't make it work. I had to add the reminder to my Google calendar and in a budgeting app that I had on my phone.
After the movie was over, I went upstairs to my desk and opened a Word document. It was in this word document that I started to play with the idea of having a budget, calendar, and a place where I could write a reminder all in one place.
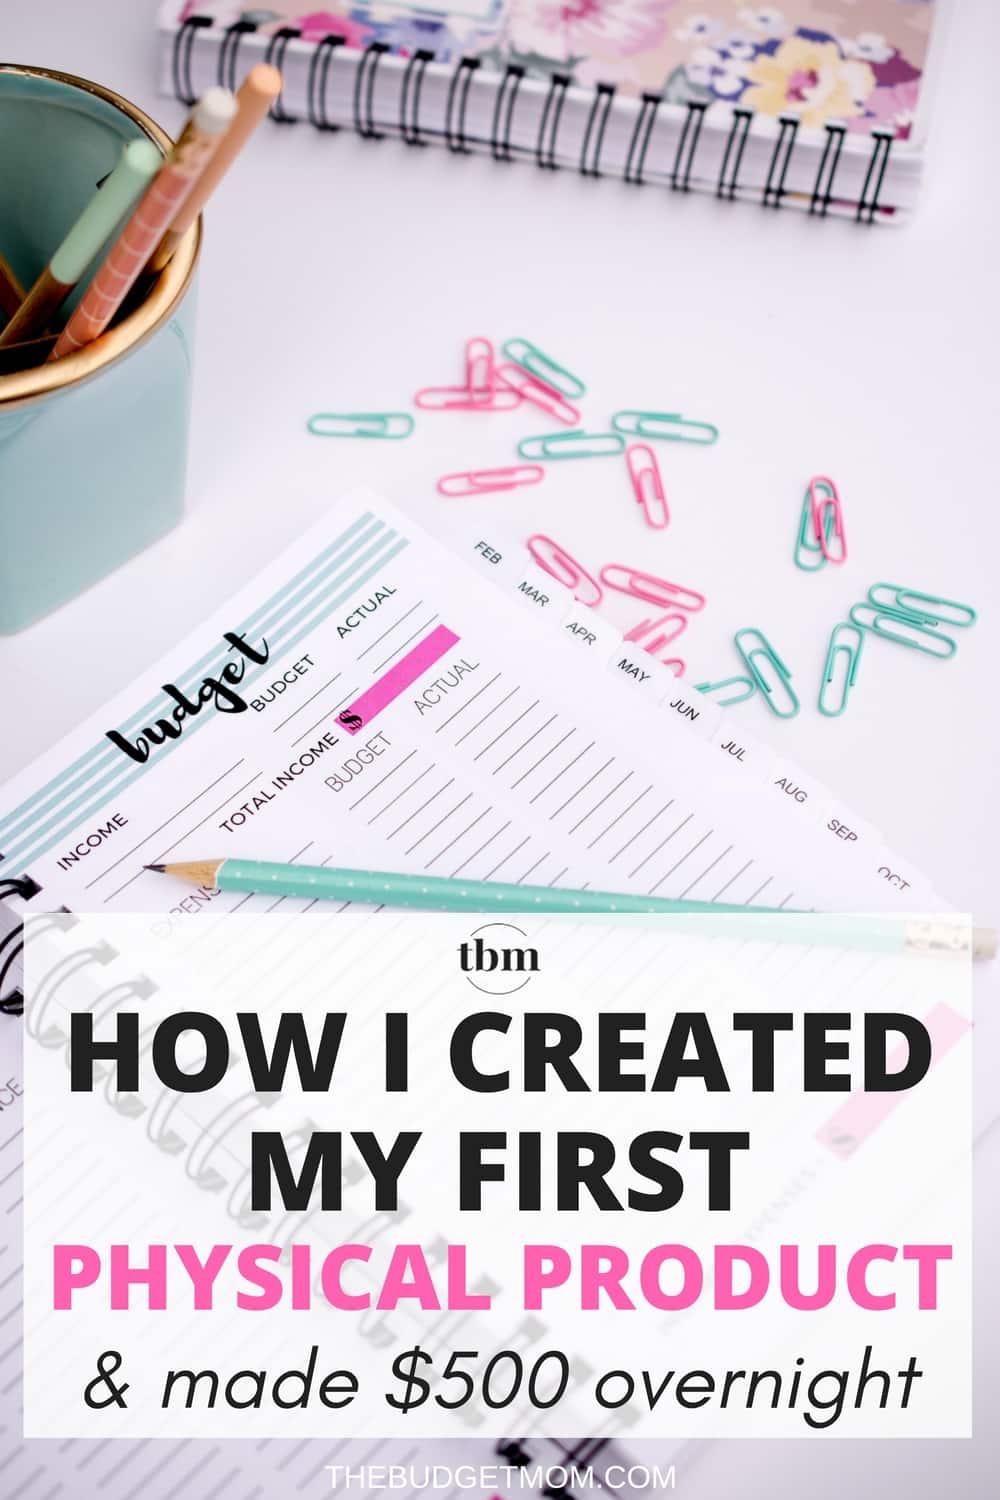
This is how the 2017 Live Rich Planner was created. I never thought that the custom planner that I had made for myself would be selling on my website almost seven months later. I also didn't realize that it would be something that people would actually want to buy. I realized that if I was creating something because I felt the need to have it in my life, there had to be other people out there who wanted it too.
If you Google “how to create a physical product,” most of the articles talk about taking your idea and turning it into some prototype or sample. For me, my idea was created page by page, without the knowledge that it would actually become a physical product for sale. Since I didn't know that I would be selling my planners until about half way through creation, I didn't start with high-level market research on related products or a clear picture of who I was creating the product for. In my mind, I was creating the planner for myself.
To put things simply, I wanted to create something that would make my life a bit easier, and so I just started building. I used resources that were already at my disposal, and as I was creating, new ideas and opportunities appeared.

THE RESOURCES THAT I USED
As mentioned above, I started creating the Live Rich Planner in Microsoft Word. I tend to use the programs that I am comfortable in, and I rarely deviate. So naturally, I started using the table and shape functions in Word to bring my idea to life. After about two pages in, I realized that Word just didn't have the design elements that I needed.
CANVA
I had some experience in a program called Canva, which I was using for design graphics for my website. Since I had no experience in developing planners, one of the biggest challenges that I faced was creating a design that would be the exact size that I wanted the planner to be. I knew that I wanted the planner size to be 5.5 inches X 8.5 inches. I wanted it big enough to write all of my notes, reminders, and daily activities, but small enough to still fit my purse.
So, like a newbie, I created a blank template in Canva for that exact dimension. That's what I love about Canva. It allows you to create any custom size template that you want using pixels, millimeters, or inches. For the 2017 Live Rich Planner, each page is an image created in Canva. That means I created over 200 images, one for each page of the planner.
After each page was completed, I downloaded the image onto my desktop and labeled it with the page title. Canva was the only program that I used to create the 2017 Live Rich Planner.

WHAT I WOULD DO DIFFERENTLY
If I could back, knowing what I do now, I would use a program like Adobe InDesign or Photoshop. Canva is an excellent free resource, and I love the graphics it creates for my blog. However, I think that I would have developed a lot crisper, and clearer images by using a more professional program designed specifically for publishing and printing.
PRINTING AND MANUFACTURING
I am going to be completely honest, and tell you that I was contemplating printing and binding all the planners on my own. I was prepared to buy a binding machine and the resources that I needed to do all the work myself at home. I soon found out how expensive the ink cost would be and decided the best course of action was to bring my images to a professional. After researching online about companies that make custom planners, I realized the prices online weren't any better.
It was during this time that I had my first thought of just giving up and printing only one copy for myself. I reached out to some other bloggers, with no luck on any advice, and I felt like I just spent the last six months creating something amazing, and now I had no idea on how to make it a reality. I had the images, the design was complete, but I just couldn't figure out how to actually create them.
STAPLES
I remembered that one year I had my son's birthday invitations done at Staples, so I looked at their website and read about their custom printing services. The next day, I drove down to my local Staples and talked to the print manager. I told him my situation, and he was able to walk me through the process of turning my images into a product. Since my order was too large to print in store, they put me in contact with their custom printing specialists who were able to print my planners at a different facility.
It was about two days into the process when I received an email from my print contact at Staples. She asked that I send her the images in order so that they could prepare a sample for me before I approve the planners for production. I had over 200 images and no idea on how to get them in order so that they printed front and back correctly. I researched online about printing in booklet form in Adobe Reader, and other programs that would put my images in correct order, but had no luck.
I probably spent a good two weeks trying to figure out how to get my images to print in the right order. I tend to make things a lot more complicated then what they need to be, so I took out some blank copy paper, folded them in half and started labeling each page. I then numbered the pages so that I knew what image was page #1, #2, etc.
I then renamed each image on my desktop with the page number it was in my folded paper book and sent all 200 images (relabeled) to the printing company. As I mentioned, I am not an expert in planner making. So I know there is an easier way to organize your pages to print in order, I just never figured it out and ended up finding my own solution.
WHAT I WOULD DO DIFFERENTLY
Staples was a great company to work with, and they ended up having my planner printed, bound and shipped in about a month. However, when I initially took my planner idea to the printing manager, I gave him a very specific deadline. I felt there were unnecessary delays (we were a month past my deadline) and mistakes that could have been avoided. Do you know how hard it is to explain your vision to someone via email when you are dealing with 200 images? It's very hard.
The next time I create a planner or a product that needs bulk printing or manufacturing, I am going to use a local printing company. It's so much easier to sit face to face with someone and show them your vision, rather than trying to show them via text through an email. Plus, you get to be there during the printing process, which to me, is totally worth it. I feel like that's where a lot of the miscommunication and misunderstandings happened with the 2017 Live Rich Planner.

THE MATERIALS THAT I USED
It was about half through the production process that I was asked, “What kind of paper do you want to use?” My answer was, “The regular kind.” I guess you could say I had no idea that there were so many different types of paper in the world. It was complete overwhelm, to say the least. Luckily, Staples was able to explain the various options to me and the benefits of each one.
There was one advantage that stood out to me more than the others. I am a bullet journal addict, and one of the things I look for when I choose a bullet journal is if the paper is “no-bleed.” This just means that when you write one side of the paper with a marker, or if you write with a heavy hand, the ink won't show on the other side. I have been crazy about this ever since I can remember. In high school, I never wrote on the back of pages because I didn't like how messy the other side looked when the ink would bleed through. It just bugged the crap out of me. It's even worse when you are bullet journaling because you create a work of art on one side, only to flip it over and see that it rendered the other side completely useless. It's the worst.
I immediately knew when I heard the term “no-bleed,” that it was the option for me. It meant that the cost of the planner would go up slightly, but to me, it's completely worth it. I ended up picking out a thicker paper for the inside pages of the planner. I went with the 32lb bond paper, and it was worth the extra cost. I wanted to make sure that you could use any pen or marker in the planner without having to worry about the ink bleeding through to the back side.
Deciding on the materials to use for the cover was the hardest. Since Staples didn't offer a hardcover option, I had to choose a card stock for the cover. Naturally, I went with the thickest option that they had, but I am still disappointed that it's not truly a hardcover planner. This is another reason why I will choose to work with a local printing company who has a hardcover option. Not only will a hardcover protect the planner better, but to me, it looks like better quality.
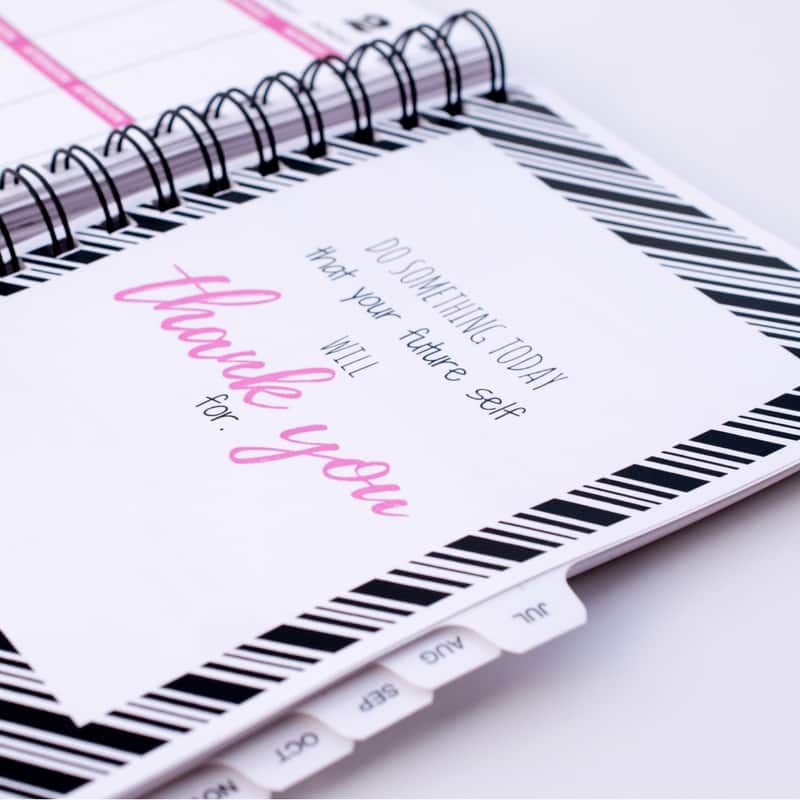
Staples was also able to insert monthly tabs into the planner during production, which was a feature I decided on after my images were already created. As I mentioned above, you start with an idea, but as you get further down the design process, other ideas and opportunities pop up.
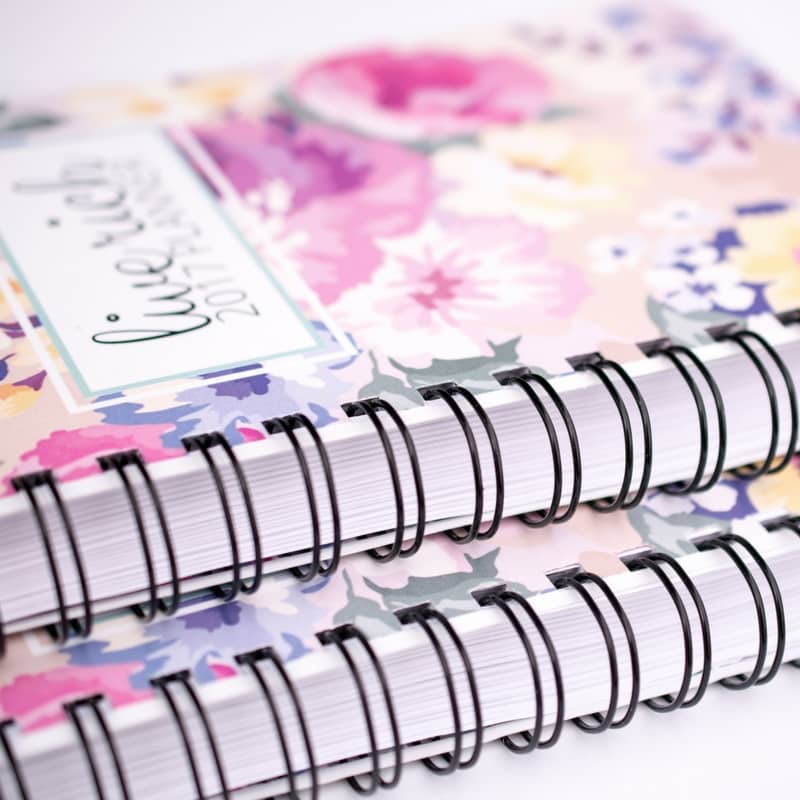
I also chose to use a metal binding instead of a plastic binding because I felt like the plastic option didn't give the planner the quality that I was envisioning. This also added a little more cost to the overall production.
The truth is, creating this planner was so much more work than I had ever imagined. I felt like giving up more times that I could count. My patience was tested, and so was my vision. My mind was flooded with questions like, “What if no one likes it?” “What if they don't like the design?”
The scariest part throughout this whole process was spending money to make a product I had no clue if anyone would actually buy. This started out as a custom planner for myself. Something I felt I couldn't find anywhere else. Would I be able to cover the cost of making this planner? Will I sell enough to break even? These are just a few of the questions that kept me up at night.
I took a huge chance and a big leap of faith that my product was good enough to sell. Luckily, the 2017 Live Rich Planner has been a huge success in my eyes. I sold my 100th copy today, and I am so excited about the progress.
If I have any advice to give someone who is thinking about creating their own physical product to sell, it would be this. You will never know unless you try. That idea floating in your head will only ever be that- an idea. You have to make the decision to turn it into something more. You have to have faith that your idea can turn into a reality. It's a lot of work, it's scary, but it's also amazing. It's a rewarding feeling when someone you don't know buys your product for the first time.
YOU CAN SEE MORE OF THE 2017 LIVE RICH PLANNER OVER IN THE SHOP
Have you started creating your first physical product? Let me know about your journey in the comments below!

